
MY ABOVE GROUND CONTAINER GARDEN
Warrior Woman
- Hold the Presses!
- Why I Moved to Above Ground Container Gardening
- Preparing to Garden in Containers
- Equipment and Supplies
- Planting the Garden
- What Worked - and What Didn't
- Fall Planting
- Moving Forward
- 2022 Expanded Garden
Hold the Presses!!
Another wrench in the gears: In 2022, my husband was diagnosed with ALS/Lou Gehrig's Disease. In order to provide him with a handicap-accessible bathroom, an addition to our house was needed. In the process, my container garden had to be relocated in early spring of 2023. Once a tidy setup, with containers on one side of the yard and grow bags on the other, the former grow bag garden has become my only garden. It's a bit chaotic this growing season, but once the rest of the grow bags have been cleared out, I'll have room for six containers and that will have to do. I can place grow bags anywhere around the yard to supplement what's grown in the containers. I won't be taking pictures of this year's summer garden.
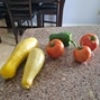
Came spring, and along with it came blazing hot temperatures, long rainless periods, and multitudinous weeds of every variety. Despite all the issues, I will say I had bumper crops of eggplant, and bell and jalapeno peppers. The thyme, Thai basil, parsley, and oregano did splendidly. I was able to get some yellow squash and zucchini harvested, a very few tomatoes (too much heat and too much rain after the dry spell passed), and my black soybeans finally took off to give me enough seed for next year's planting. I use a lot of those and will be glad to grow my own instead of paying highway robbery prices for them. Stay tuned for the fall/winter garden updates!
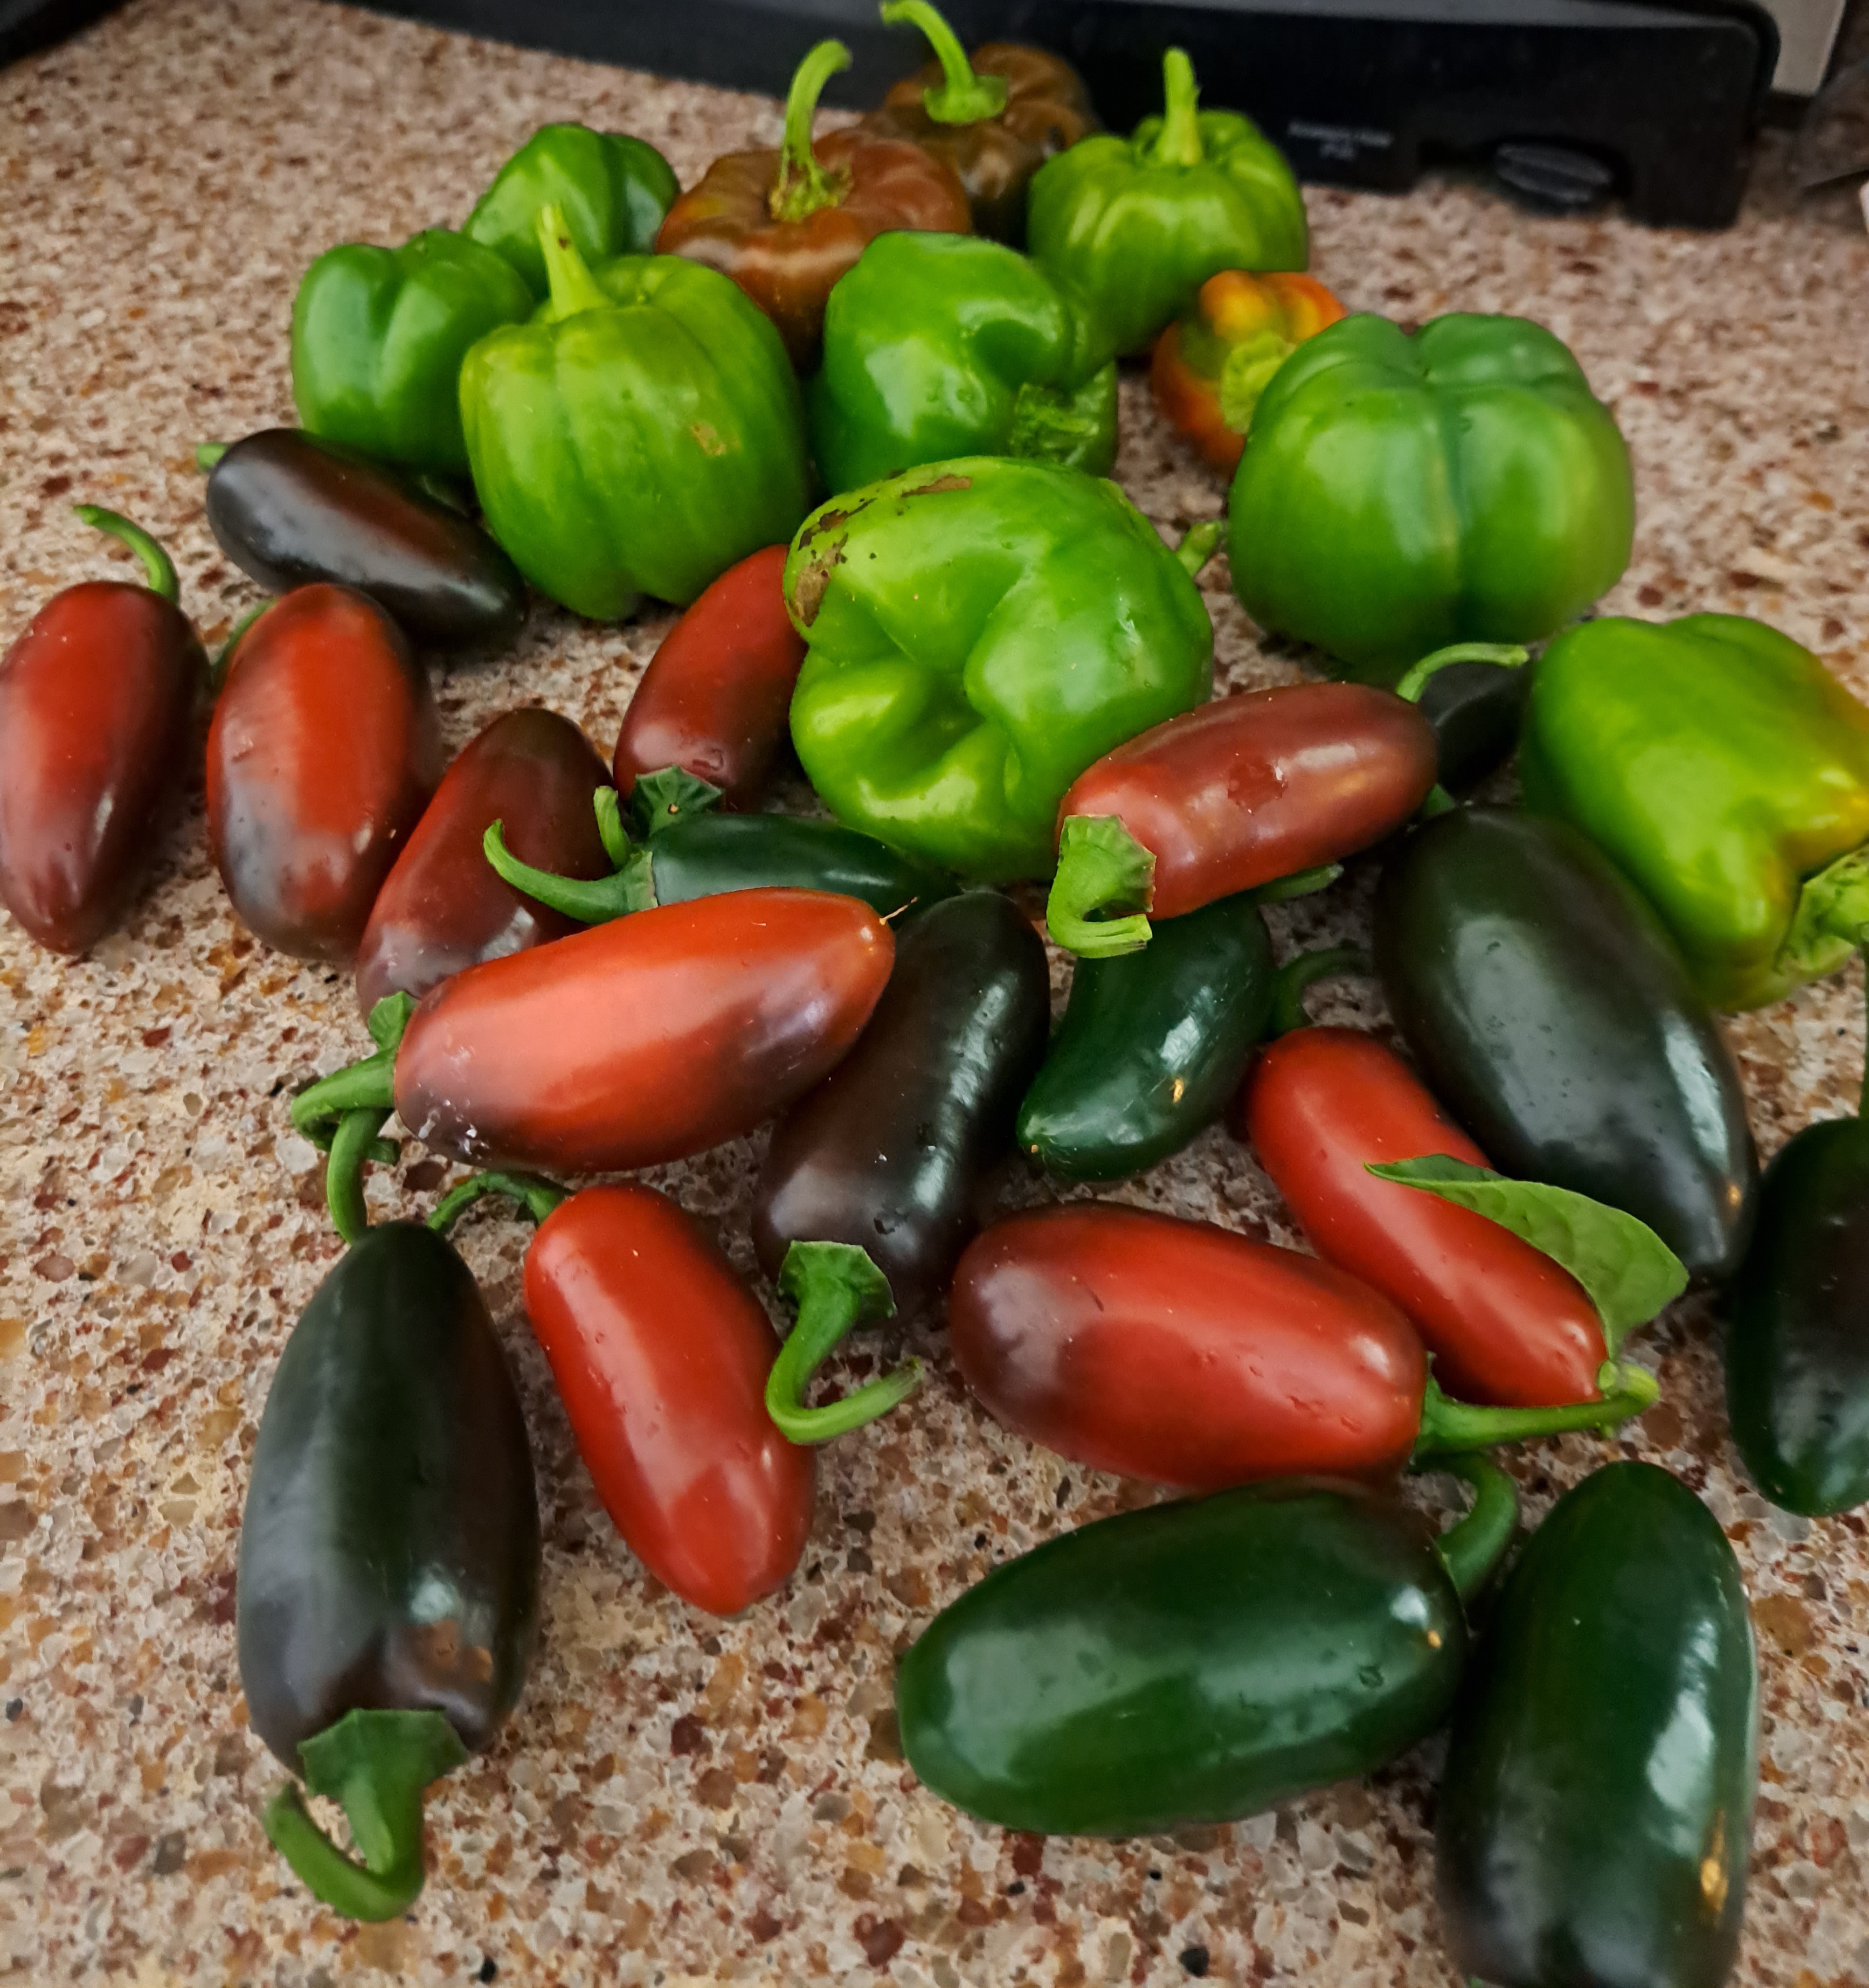
Yesterday's pepper harvest
Why Container Gardening?
After years of fighting exponentially increasing weeds, and spending countless hours pulling weeds only to see them sprout again in a day or two, I was overcome with frustration. Add to that poor soil that didn't respond to my efforts to supplement it, and plants dying a premature death due to parasitic nematodes (common in Florida), I decided to go to above ground container gardening. A friend of mine does container gardening and gave me some great advice on how to get started. Unfortunately, the suggested wood containers wouldn't work in the hot, humid, and often drenched ground here unless I wanted to replace the containers every year or two. I went off in search of alternatives.
Preparing to Container Garden
- Step #1 was to pull every weed and hoe up the whole garden plot. This was no small feat! It took me several days to pull each weed by its roots, then hoe up and rake out the garden.
- Step #2 was to sit down and make a plan.
- How much money could I afford to spend?
- What kind of soil did I need?
- What did I want to plant?
- What could I plant in the Spring, and what was food we would actually eat?
- Did I want to buy plants already started, or start my own from seed?
- How much could I plant in the allotted space?
- How did I want to lay out the containers, taking into consideration our existing irrigation system?
- What plants would regrow without intervention, and should I consider letting them reproduce, or should I rotate to different containers?
- What did I need to put under the containers to block weeds from growing up through from the ground?
Having set a plan, it was time to get some containers and soil.
Equipment and Supplies
I settled on six 3'x4'x12" corrugated steel Stratco® containers from a big box store, and placed a home delivery order. Miracle Grow® Raised Bed Soil went on my list while I waited for the containers to arrive. I calculated that I would need 4.5-5 bags per container. At $9/bag, the soil cost almost as much as the containers (inflation has set in, and today the soil is $10/bag)! My husband didn't understand why I couldn't just plant something in the ground; he has never pulled a single garden weed, let alone thousands of them🙄
Off we went to a big box store to get the soil ("Why can't we just use regular dirt?" he asked 😠) My husband ran out of patience for my project, and I ended up with 4 bags per container, which I knew wouldn't be enough but far be it from me...😬 I picked up a roll of weednet for under the containers.
The containers arrived and were put together fairly quickly, with plenty of hardware for each. Weed net was laid out over the entire garden. Each container was carried to the garden plot, and I started to lay them out. Once again, "someone" ran out of patience and said, "That's good enough". More about this later...
Time to fill the containers with what looked like mostly mulch and very little soil, but I deferred to Miracle Grow® on this. Of course, 3 containers were short on fill, but I wasn't about to suggest another big box store run and I wasn't about to say "I told you so". Now it was time to get some plants and seeds into the containers.
Planting the Garden
Tomatoes, peppers, and onions were a foregone conclusion when it came to choice of plants. Because I had lost a fair amount of time getting my ducks in a row, and acquiring equipment and supplies, I opted for starter plants, again from the big box store; 6 various tomato plants, 2 green bell peppers, 1 red bell pepper, a jalapeno, 6 candy onions, 1 eggplant, and some basil and sage. I added Romaine lettuce, radish, beet, and summer squash seeds. I also put in some green bean seeds leftover from the previous fall, and a couple sweet potato slips I started from an organic sweet potato.
The tomatoes all went into the same container at the recommended spacing. The peppers went into another. The candy onions and beets went into another. The squash and eggplant went into opposite ends of another container. Romaine and radishes went into one container, and green beans and basil into the last container. Once the Romaine and radishes were spent, I planted the sweet potato slips in that container. Now to sit back and wait to reap the harvest.
What Worked - and What Didn't
- Tomatoes - So much for recommended spacing for the tomato plants. The more they grew, the more they overlayed each other. No amount of staking and trimming could separate them. As a result, the center plants didn't do as well as those on the ends. We did, however, get enough tomatoes that I was forced to freeze the excess until I accumulated enough to make marinara. Next spring I'll put 4 tomato plants in the container, and will likely get twice as many tomatoes. I still have 2 self-seeded plants in the container, with tomatoes already growing.

- Bell Peppers - The peppers did reasonably well, and I was able to harvest enough to put some up raw in the freezer, as well as make stuffed peppers (also put some in the freezer), and fry some up with onions for Italian sausage with peppers and onions (froze the extras).
- Onions - These were great onions! I wish I had planted twice as many. After I pulled them, I braided the stalks and hung them in the utility closet. They lasted until cut, then quickly went soft, so I only cut them as needed. Newly cut, the onions were firm and sweet - great for fried peppers and onions, salads and burgers. I will definitely be looking for these onion plants again in the Spring.
 Last onion hanging in the utility closet.
- Romaine Lettuce - Epic fail! The lettuce started out very nicely and then the radishes overgrew the Romaine so completely that I couldn't even see it until it was already going to seed! Next planting will see the Romaine in its own container, perhaps with something short😂 It's a shame because we eat a lot of Romaine.
- Radishes - I had a bountiful crop of radishes, which my husband loves in salad. I use radishes as a substitute for potatoes: fried, baked, in soup and stew, and corned beef hash. They kept for a reasonable length of time in the fridge for me to add to our favorite dishes.
- Beets - Very disappointing planting. I got one beet from all the seeds I planted. I'm not sure what I did wrong but will figure it out before I plant again.
- Summer Squash, Yellow Crookneck - I got a ton of yellow summer squash from one plant. I was able to pan fry it, air fry it, roast it with sheet pan meals, and shred it to put in zucchini bread. By the way, it's a perfect replacement for zucchini and performs exactly the same way. I had enough to put several bags of shredded squash in the freezer.

- Eggplant - From one eggplant, that eventually turned into a small tree, I got an excellent harvest. Eggplant parmigiani, eggplant lasagna, fried eggplant, roasted eggplant: we had it all. I had so many I had to give some away. While the plant eventually developed more blooms, no more eggplants grew. I'll replant in the Spring.
- Sweet Potatoes - I got a late start with my sweet potato slips, but the two I planted soon took off like gangbusters! I spent a lot of time over the summer trimming back yards and yards of vines that wanted to grow over into other containers. While hoeing between containers a week or so ago, I found a sweet potato whose parent vine had escaped from under the container. I'll need to keep a closer eye on this prolific plant! I eventually trimmed the vines way back to prevent any more jail-breaks. I expect to be harvesting sweet potatoes long before the danger of frost (late December or early January).
- Jalapenos - This was another disappointing planting. While I got plenty of jalapenos, they were tiny and only good to dice up for addition to my Mexican dishes. I had intended to use them to make bacon-wrapped jalapeno poppers, but this didn't happen. I did replant a "giant jalapeno" but, so far, have only gotten one good-sized pepper. Because I love them so much, I won't give up and will replant in the Spring.
- Green Beans - Nil, None, Nada; I was never able to harvest a single green bean from this planting. Maybe it was my last year's seeds. Last year I had a bumper crop of green beans. We don't like green beans that much anyway, but it would have been nice to get enough for a meal or two. or maybe some green bean and bacon soup.
- Basil - Basil grows like a weed in my garden, and reseeds itself to grow many more basil plants. I use a lot of basil in Italian cooking, and was able to use both as fresh and dehydrated. This herb is never a failure.
- Sage - The sage grew as expected. I normally grow just enough to dehydrate, rub, and store in the pantry to use for stuffing and gravy. I could grow more, but with the limited space I have, I'll continue to grow every year.
- Above Ground Container Soil - This soil drains very quickly. The garden needed to be watered almost every day, unless it rained. It's the dry season now, and I water daily.
- Weednet - All of the weednet that was in the open between the containers disintegrated in the summer sun. I ended up removing every bit of it and just hoed up between the containers. I have some heavy black plastic in the garden shed and may put some down between the containers if the weeds start moving back in droves.
Fall Planting
Mid-September I started replanting.
- Cauliflower - I planted 6 rows of cauliflower using organic seeds; 2 baby plants emerged. I replanted, and got nothing. I bought a different brand of seeds, and replanted. Nothing again! Cauliflower is my favorite vegetable, and we steam it, roast it, make cauliflower rice from it, and use it to make cauliflower mash. I was getting desperate!
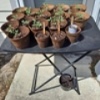
I opened the freezer and took out a bag of long-term storage seeds, found the cauliflower seeds, and planted them in tiny peat pots on my kitchen windowsill. Voila! Now I was getting somewhere. After a couple of weeks, I moved them to the back yard next to the screen porch, where they would get enough sun but also afternoon shade. As they outgrew the tiny peat pots, I transplanted them into slightly larger peat pots. As soon as they appeared sturdy enough, I transplanted them to the garden. Now I have 11 cauliflower plants growing happily in the garden.
- Broccoli - I planted enough seed for 6 broccoli plants; 5 emerged. I used a peat pot to plant 1 more, and when it was large enough to transplant, off to the garden it went. Amazingly, the missing 6th broccoli I initially planted showed up, so now I have 7 broccoli plants.
- Onions - I planted 4 rows of onions, 2 white and 2 green bunching. I've only ended up with about 10 onion plants altogether, and I suspect the squirrel that keeps digging in my container destroyed the rest. I may have to resort to peat pots again.
- Tomatoes - With the 2 reseeded tomato plants, plus 2 more I bought at the big box store, I have tomatoes already growing. I don't expect to get a bumper crop, but I think we'll end up with enough for daily use. The existing plants should produce until almost Christmas. In the Spring, I will dedicate 2 containers to tomatoes, since we use them in a variety of ways, and I don't want to repeat the Spring overcrowding.
- Zucchini - My zucchini plant keeps developing blossoms, but they fall off and I have yet to see any zucchini. I'll try again in the Spring in a different container. I wish it had done as well as the yellow squash.
- Cabbage - I started 6 cabbages from seed; of course, only 5 started growing, so I had to plant one more. Last fall, I planted a dozen cabbage plants, and ended up having to dispose of several that spoiled in storage. I tried storing it in the garage in a Coleman cooler but it didn't work that well. We use cabbage for cabbage rolls, coleslaw, ham and cabbage, and Italian-style beef with cabbage "noodles". I have no doubt we will use every bit of the cabbage I get this year, with enough to put a few meals up in the freezer.
- Radishes - I replanted radishes, and they are growing bigger every day. I had to stick a couple of stakes against them to keep the leaves from overrunning the cauliflower. I have high hopes for the radishes!
- Sweet Potatoes - I planted 2 sweet potato slips that I grew from organic sweet potatoes. Before I knew it, the whole container was enveloped in sweet potato vines, which I had to keep cutting back to prevent them from intruding on my other containers. I did manage to harvest 2 grocery bags of sweet potatoes. I hung them in vented bags in the utility closet, and several months later, I canned them.
Moving Forward
Once I had hoed up around the containers, I saw how much room I had left, and had a much better idea of what layout would work. I purchased 2 more containers, 6'x3'x10-1/2". I will need another 10-12 bags of Miracle Grow® Raised Bed Soil. My wallet is screaming for mercy! Luckily, I still have the $100 Visa gift card my husband gave me last Christmas, which takes most of the sting out of the soil purchase😉

Garden Layout
Laying out the containers in this manner will allow me to comfortable walk between, and work the interior of, all of the containers.
My Above Ground Garden - Take II
I was kidding myself about that gift card! The old raised bed soil settled since last year, and needed refreshed and replenished, and the two six-foot containers took eight bags of raised bed soil each. Before I was done setting up, including some landscape fabric and pins to put under the new containers, I was in a good $300 out of pocket - but so much more room!
But...not enough for my expansion plan, so on to grow bags. I talked my husband into ceding the ground behind our storage shed, where nothing grows but weeds and crappy grass anyway, but it gets plenty of sun, it's close to the garden hose, and it's huge.
I started a lot of seeds, all heirloom, non-GMO, open-pollinated,for both gardens. I planted:
- Onions
- Eggplant
- Turnips
- Rutgers Tomatoes
- Roma Tomatoes
- Parsnips
- Carrots
- Radishes
- Sugar Snaps
- Green Peas
- Lima Beans
- Pinto Beans
- Acorn Squash
- Golden Bantam Corn
- Romaine Lettuce
- Bell Peppers
- Jalapeno Peppers
- Sugar Baby Watermelon
- Spaghetti Squash
- Yellow Squash
- Zucchini
- Marketmore Cukes
- Pickling Cukes
- Black Beans
- Peanuts
- Potatoes
- Butternut Squash

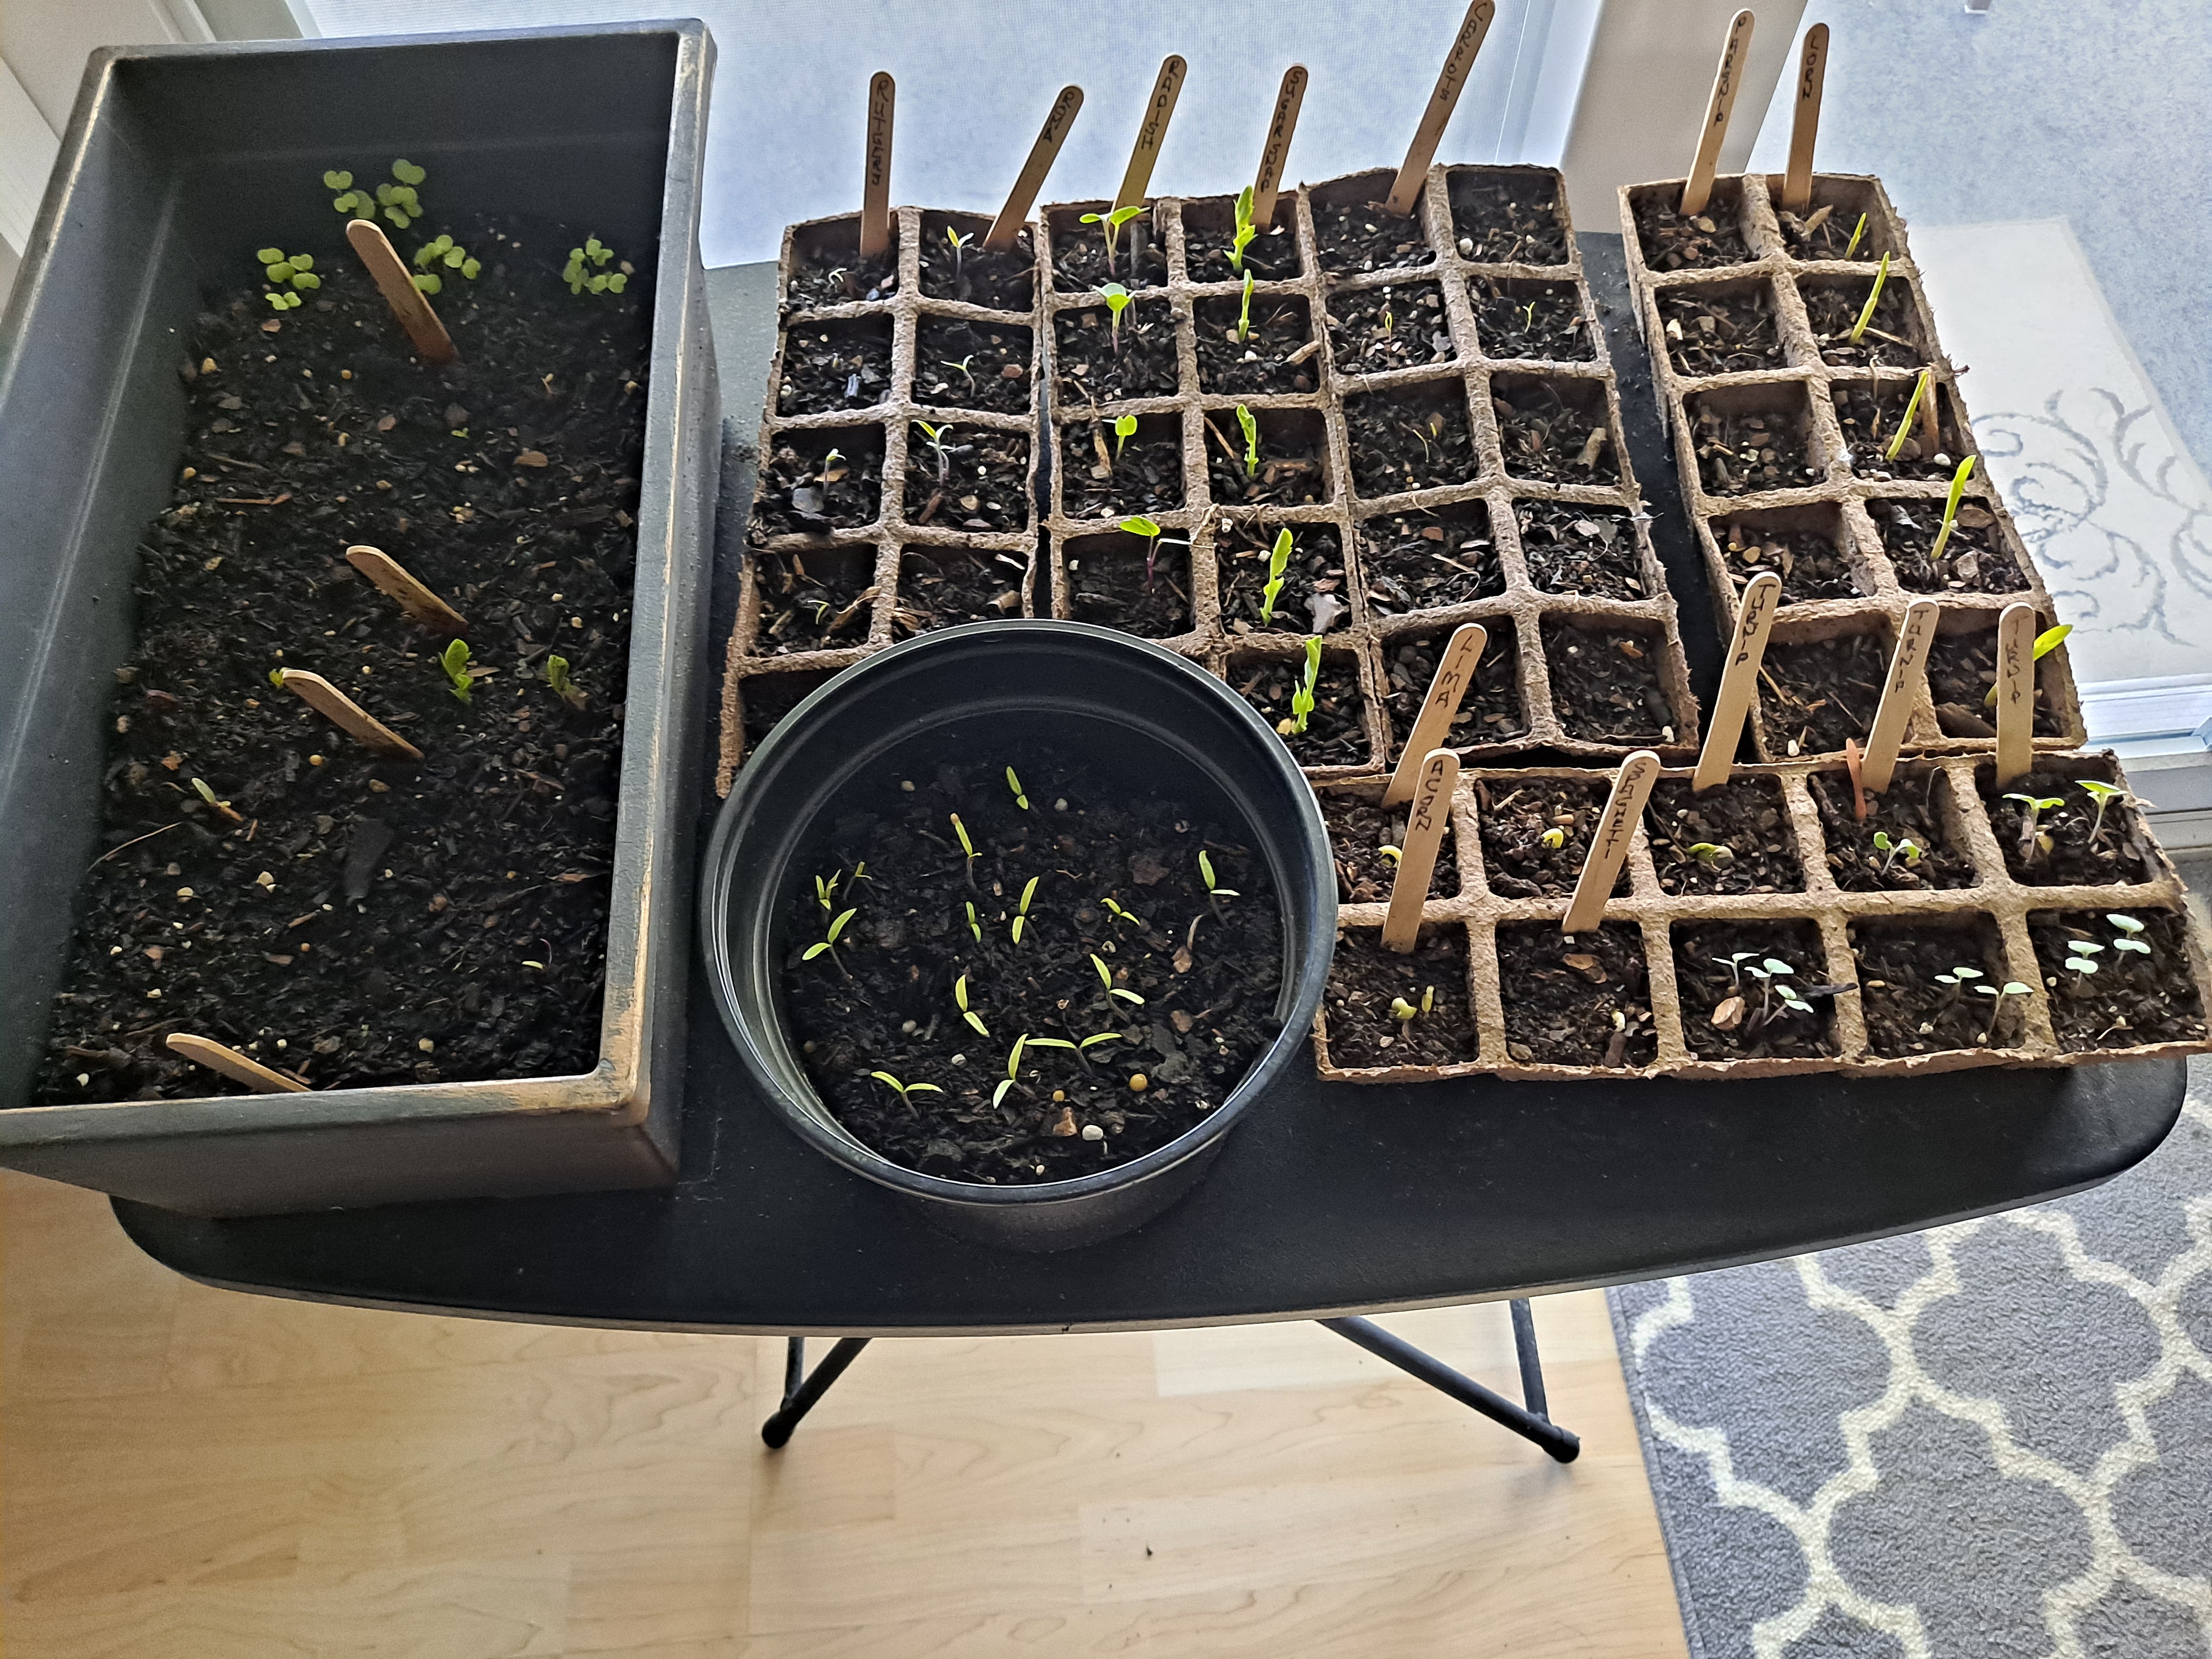
including a pot of mystery seedlings that the marker disappeared from, but that look suspiciously like tomatoes:
 I planted Rutgers and Romas, and don't know what these are
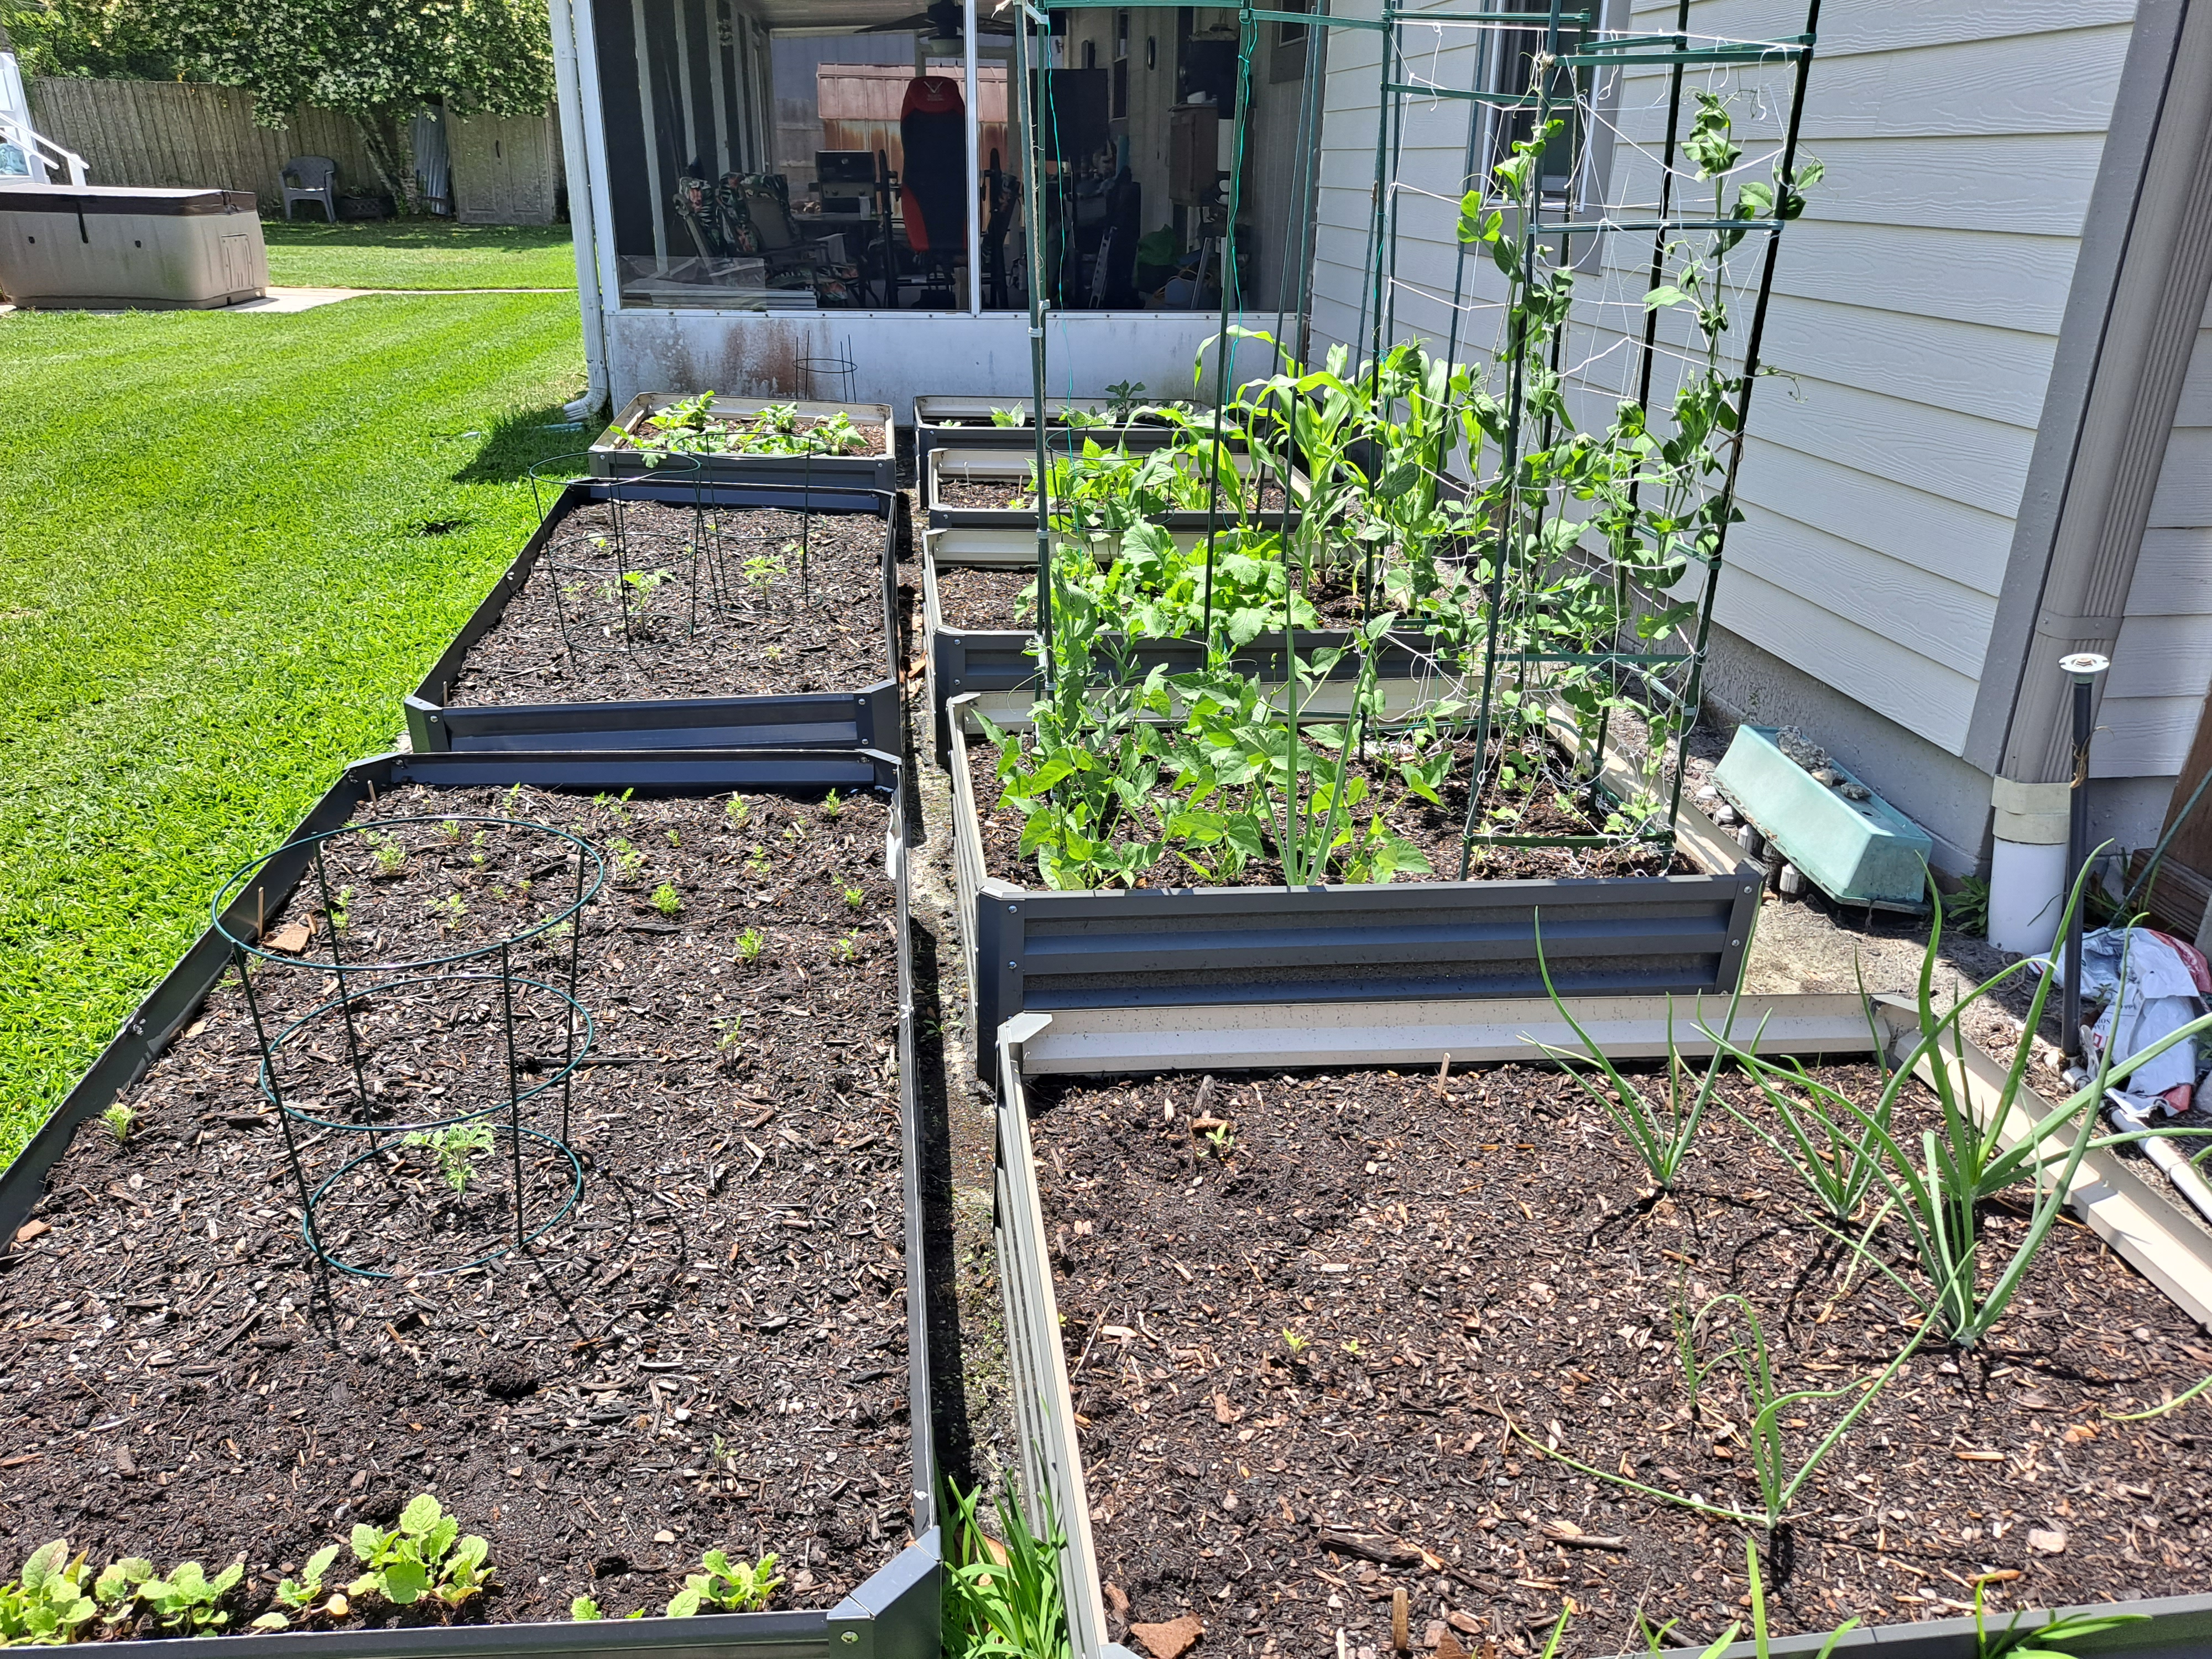
I laid down more landscape fabric and started filling my grow bags:
Two rows of tomatoes from my mystery seedlings, then a row of squash, watermelon, and cukes, then another partial row of beans and squash.
Everything took off like gangbusters!


Trellises:
I had a ton of 11mm garden stakes, so I bought two sets of stake connectors and 3 packs of trellis netting to build A-frame trellises.
I like the BaseGoal netting because it comes with velcro to tie up plants to the trellis.


I built a number of trellis A-frames, and added garden stakes for some sturdy cross bracing. The sugar snaps, acorn squash, spaghetti squash, peas, black beans, pinto beans, zucchini, yellow squash, sugar baby watermelons, butternut squash, and cucumbers all needed trellises. After some strong storms moved through, I was pleased to see that the trellises held up just fine; wind blows right through the netting.
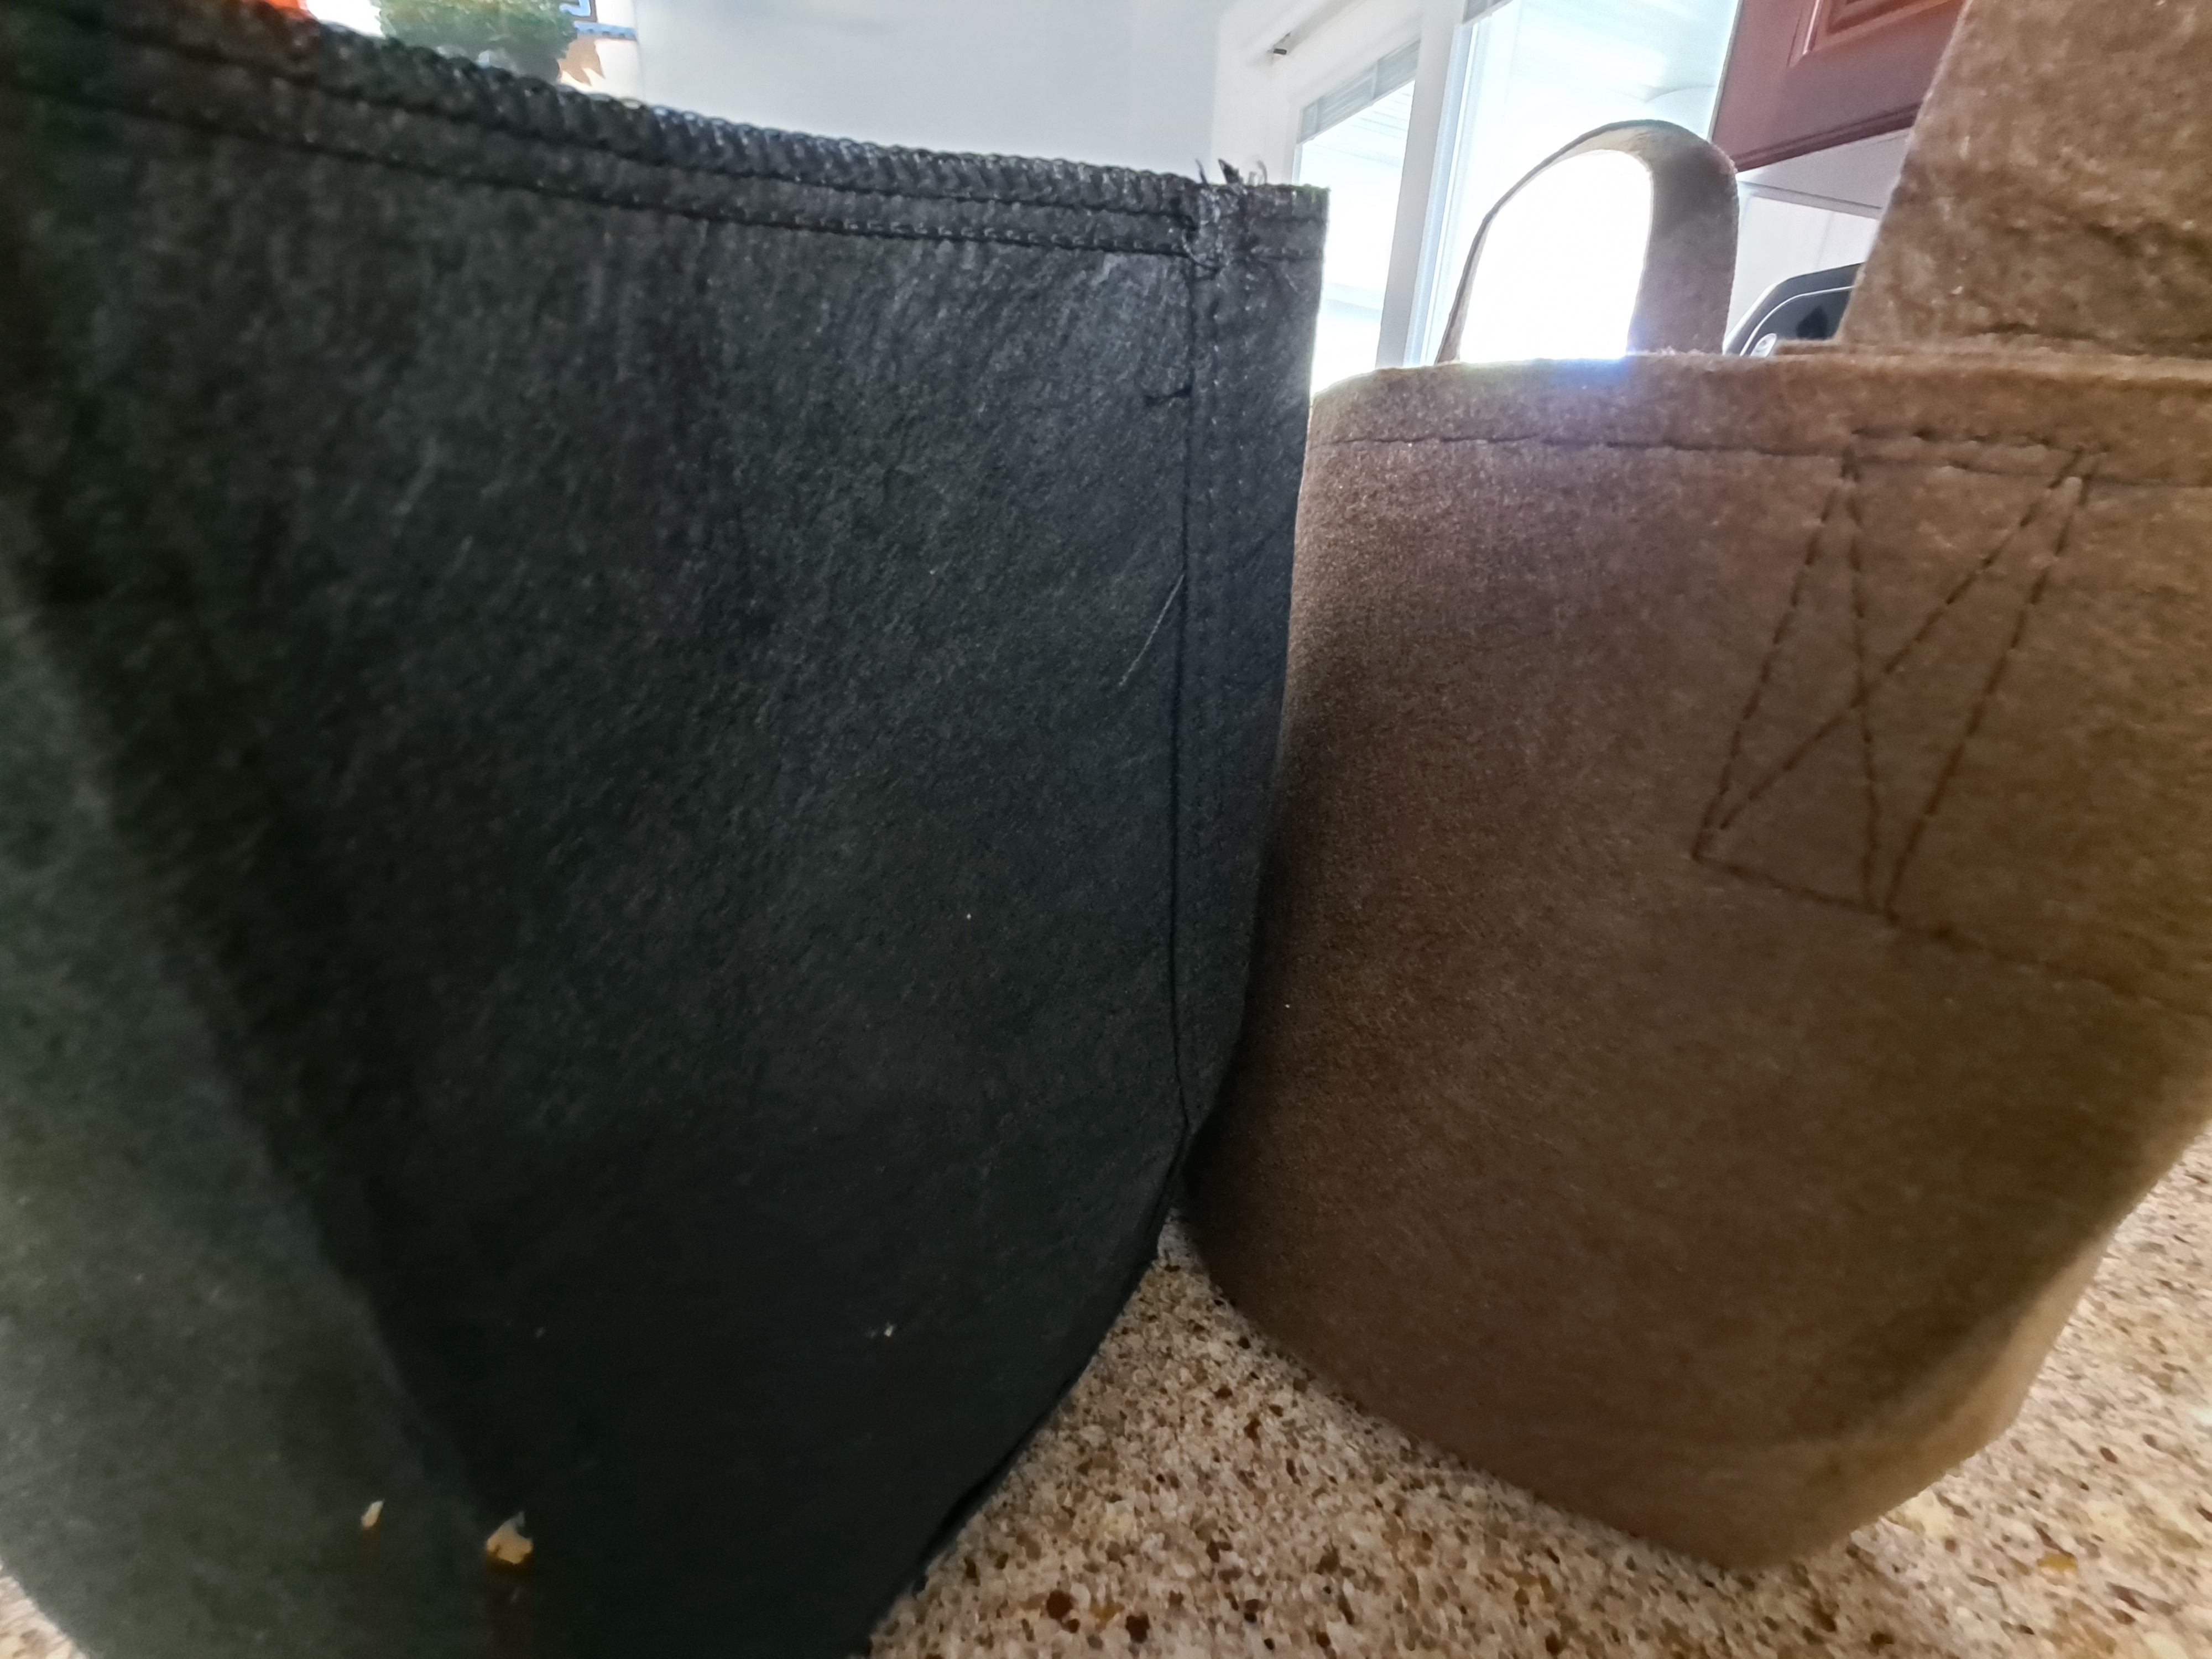
Grow Bags:
The grow bags are filled with potting soil, and they drain very well - so well that they have to be watered 1-2x daily in hot, sunny weather. There was an irrigation system sprinkler head near the bag garden, but to run it also meant overwatering the whole zone it was part of. Solution: drip lines connected to a garden hose, which could be connected to our irrigation well via quick-connect and a nice brass spigot my husband spliced into one of the irrigation pump well pipes. Now, when I water the container garden, I can open the spigot to the bag garden and water both. It took two drip lines to wind through all 30 or so grow bags, but it works very well. Bless my husband for setting up the spigot so I didn't have to drag out the garden hose and water the bags one at a time. Best of all, we're not watering with city water.
Everything I planted in grow bags grew quickly and produced many vegetables. The tomato plants are averaging 12-16 tomatoes/plant. I've been harvesting cucumbers and tomatoes daily. The sugar baby watermelon plant has vines traversing almost the entire length of the trellis row and the vines have to be redirected to prevent interference with other plants. The black beans and butternut squash are constantly encroaching on the sugar snaps and peanuts! Next year I'll adjust the spacing to avoid the extra work trying to train plants.
Squash Vine Borers:
This little pest destroyed three of my squash plants: two spaghetti squash and a yellow squash, which I had already started new ones of and have replanted.

This evil devil lays eggs at the base of squash plants. The eggs hatch into larvae and start eating through the stems of the plant. The leaves then yellow, wilt, and subsequently the plant dies. In the course of researching this devil, I found that full-strength Bt (Bacillus thuringiensis) injected above the damaged area of the stem can kill the larvae when they ingest it. I was able to salvage half of a zucchini using Bt injection. I removed the dead part of the plant and threw it in the garbage. The surviving half has since produced one large zucchini and is growing several smaller ones. I injected all the rest of my squash, watermelon, and cucumber plants to prevent any more of this kind of damage.I remember seeing this black-and-red devil but had no idea what it was until I started researching the reason for my plants dying. You can bet I'll be on the lookout for any more squash vine borers.
The potting soil from the discarded plants can't be reused for any squash or related plants due to contamination, and was spread out in my tropical plant bed, where there's nothing of interest should any of the eggs hatch from the soil.
Composting:
I started out with a small compost pot. With the garden expansion, I graduated to a 50-gallon pot that was in the garden shed. It stayed wet (and buggy) and there was really no good location for it, so I decided I needed a compost tumbler. I sent my husband a picture of it, and the next day he said "Buy your compost thingy". I debated about sizes but settled on a 43-gallon compost tumbler, which I have fondly named Darth Vader. Transferring the compost from the pot to the tumbler was quite an exercise, but once it was done and sat in the hot sun for a day, it was much lighter/drier and easier to turn (which needs to be done 2-3x/week). I put all the waste from plants that I pull, plus kitchen scraps, dead leaves from the trees, and shredded paper in it.

Photos From 2022 Gardens:


This Golden Bantam Corn was supposed to grow to about 5 ft. tall. It's now over 10 ft. tall.

Harvest: Zucchini, Cukes, Tomatoes, Turnips

Preserving:
I blanch and freeze, dehydrate, or can, vegetables as well as meat. I got a heavy duty rolling cart that holds my Excalibur 9-tray dehydrator, plus my pressure and water bath canners, and associated accessories. I have frozen radishes, peas, sugar snaps, greens, and turnips this year. I've canned sweet potatoes (2021 crop), ground beef, chicken, and butter this year. I'll be canning carrots, potatoes, and parsnips as soon as they're harvested. Once I harvest more tomatoes than we can eat daily, I should have hundreds of them to can as whole tomatoes or red sauce. Most of the rest of the vegetables will be frozen or dehydrated. A few things, like eggplant, will be made into freezer meals.


BACK